
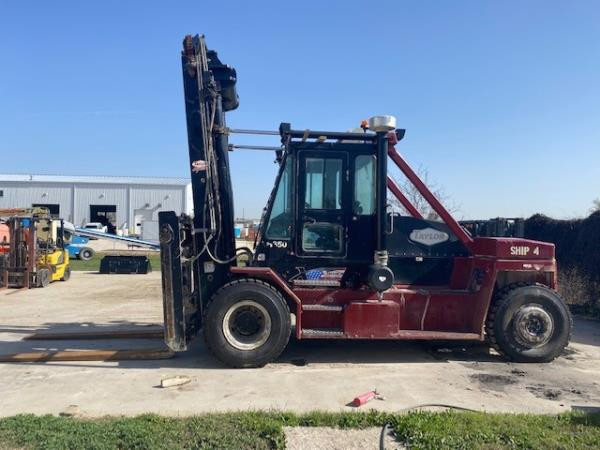
Make: TAYLOR
Model: TXH350L
Year: 2016

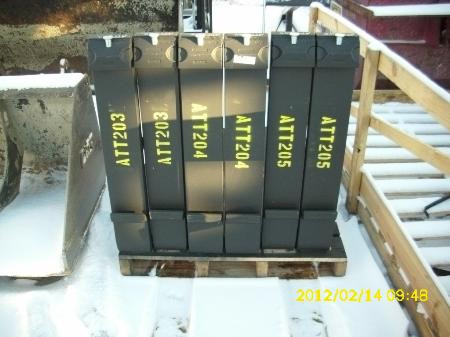
Make: Manitou
Model: 48" Forks
Year: 2012
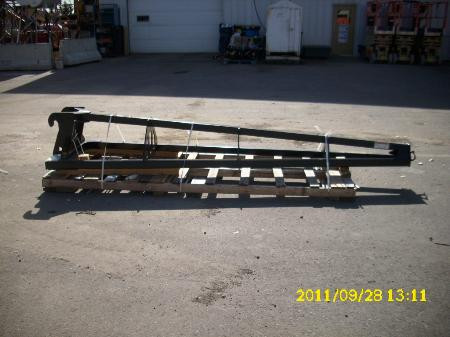
Make: JLG
Model: Truss Jib 12'
Year: 2011
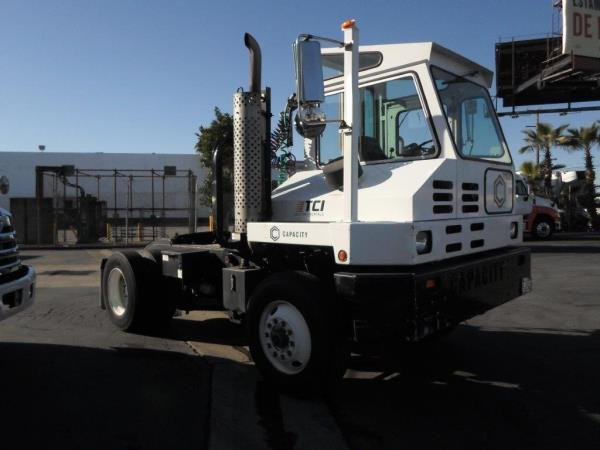
Make: Capacity
Model: TJ5000 DOT
Year: 2010
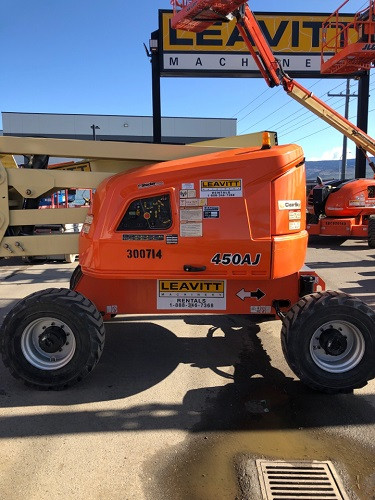
Make: JLG
Model: 450AJ
Year: 2016

Make: FrostFighter
Model: IDF350
Year: 2015
Daewoo Propane Forklifts Los Angeles
Change a Propane Tank
Forklifts powered by propane are common in warehouse settings. These forklifts have a propane mount located at the rear of the driver. These tanks have to be replaced from time to time because they have limited lifespans. Forklift drivers must always use caution when handling propane tanks. Compressed gases are dangerous, especially since the gas is flammable. Use caution when replacing and removing propane tank to prevent being injured.
1 To change a propane tank, first stop the lift truck while leaving the engine running, and turn off the valve on the tank. Let the lift truck run until the engine dies. This process burns the gas off inside the transfer hose which connects the tank and the engine. Prior to taking the second steps, wear the proper safety equipment, like for instance insulated gloves made of either leather or neoprene. It is very vital for you to protect your skin from touching the compressed gas, that is extremely cold.
2 The hose of the tank needs to be disconnected, followed by removing the tank from its holding straps. When putting in a new tank, reattach the holding straps and reconnect the hose at the valve of the tank by tightening the nut.
3 Leaks could be checked simply by applying soapy water to the valve and opening it slightly. If there is a leak, it would cause bubbles to foam from around the valve. If this happens, inspect the connection hose at the nut and the valve area. The connecting nut must be re-tightened if you detect any leaks around the area of the valve, and afterward perform the leak checking procedure over again. Persistent leaks mean that the connecting hose and nut should be replaced. Nevertheless, if replacing the nut and hose still does not stop the leak, the tank must be replaced.
4 Open the valve all the way to allow the gas to fill the connecting hose. Afterward you can start the forklift and resume working.
- Caterpillar Dual Fuel Forklifts Los Angeles
Lift Truck Training For handling materials, there are many types of industries which use powered industrial trucks. In the recycling business, internal combustion powered forklifts are popular. Lift truck operation need well trained operators. Training... More - Fantuzzi Reach Stacker Los Angeles
Fantuzzi's lineup of reach stackers are manufactured by Terex. These reach stackers are well engineered and very cost effective equipment that are made for strength and durability. Fantuzzi's numerous reach stackers are extremely cost effective... More - Toyota forklifts Los Angeles
Toyota's lift trucks are designed to feature improved ergonomics, durability, visibility which can result in more production. Toyota remains the leader in safety technology that can be more remarkable compared to the features before. Toyota... More - Taylor Cushion Tire Forklifts Los Angeles
Buying Tips There are many things to take into consideration when buying a forklift. Deciding on the best machine can have a huge impact on everything from production to operating expenses, to machine downtime and... More - Omega Rough Terrain Forklifts Los Angeles
MEGA Series - The MEGA Series is a powerful lift truck which is capable of covering a range of applications. From steel and lumber and handling other types of heavy lifting up to 9100 kg,... More